If you’ve ever needed to capture what’s on your computer screen—whether to save an image, show an error, or create a tutorial—you’ve probably wondered how to take a screenshot on Windows. The good news is, Windows 10 and 11 make it incredibly easy, offering multiple built-in methods plus a few advanced options.
This complete guide will walk you through every way to take a screenshot, from quick shortcuts like Print Screen to professional tools like the Snipping Tool and Snip & Sketch. You’ll learn which method is best for your needs, how to edit or save screenshots instantly, and how to troubleshoot common issues.
Whether you’re capturing a full screen, a single window, or just part of your display, this article will give you all the confidence you need to take screenshots on Windows 10 and 11 like a pro.
Tools You’ll Need for Taking a Screenshot on Windows
Here are the main options available:
Print Screen (PrtScn) Key — The classic, fastest way to capture your screen.
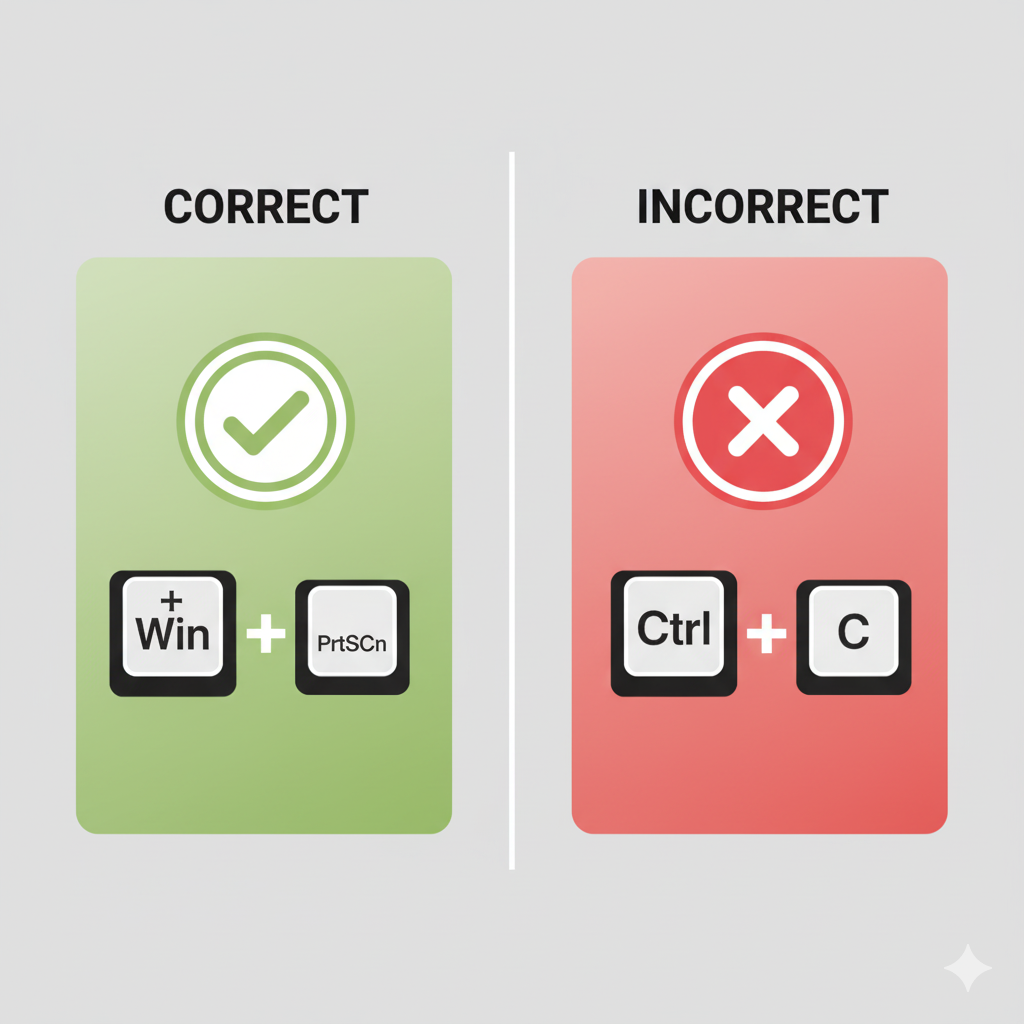
Windows + Print Screen — Saves a full-screen screenshot automatically.
Alt + Print Screen — Captures only the active window.
Snipping Tool — A built-in app for more control and editing.
Snip & Sketch (Windows 10) or Snipping Tool (Windows 11) — Ideal for partial screenshots and annotations.
Game Bar — Designed for gamers, but works for any app.
Third-Party Tools — Apps like Lightshot, Greenshot, or ShareX offer advanced features.
💡 Pro Tip: Before taking screenshots, make sure your keyboard’s Print Screen key is enabled in your Windows settings, especially on laptops where this function might be toggled off.
Step-by-Step Guide: How to Take a Screenshot on Windows
Step 1: Use the Print Screen (PrtScn) Key
Pressing the PrtScn key captures your entire screen and copies it to your clipboard.
To save it as a file:
Open Paint, Word, or any image editor.
Press Ctrl + V to paste.
Save it as a PNG or JPEG.
This method is simple but doesn’t automatically save files—it’s best for quick copies or pastes into documents.
Step 2: Save Screenshots Automatically
To automatically save your screenshot as an image file:
- Press Windows + PrtScn.
Your screen will dim briefly, and the screenshot will be saved in:
📂 Pictures → Screenshots.
This works on both Windows 10 and 11 and is the easiest way to save full-screen images instantly.
Step 3: Capture Only the Active Window
Sometimes, you just want to capture one window instead of your entire display.
To do that:
- Click on the window you want to capture.
- Press Alt + PrtScn.
- Open Paint or another app and press Ctrl + V to paste.
This is perfect for documenting software errors, single applications, or clean images without desktop clutter.
Step 4: Use the Snipping Tool (Windows 10 & 11)
The Snipping Tool is a built-in Windows application that lets you capture exactly what you want.
To use it:
- Open Snipping Tool (search it from the Start menu).
- Click New, and your screen will fade slightly.
- Drag the cursor around the area you want to capture.
- Edit, highlight, or annotate before saving.
Snipping Tool supports different modes:
- Rectangular Snip – Select a rectangle area.
- Free-form Snip – Draw your own shape.
- Window Snip – Capture a specific window.
- Full-screen Snip – Capture everything.
📸 Pro Tip: In Windows 11, Snipping Tool merges with Snip & Sketch, letting you set a timer for delayed captures.
Step 5: Snip & Sketch Shortcut (Windows 10)
If you’re on Windows 10, try Snip & Sketch, which offers a faster shortcut.
Press Windows + Shift + S and choose from four snipping options.
Your screen dims, you select an area, and the image copies automatically to your clipboard.
You can then edit or save it via the notification that pops up.
Step 6: Capture Screenshots with the Game Bar
The Game Bar is mostly used for recording gameplay, but it’s great for screenshots too.
To open it:
- Press Windows + G.
- In the Capture window, click the Camera icon or press Windows + Alt + PrtScn.
- The screenshot will automatically save under Videos → Captures.
This method works even in full-screen applications and games.
Advanced Screenshot Methods (for Power Users)
If you take a lot of screenshots, consider using third-party tools for advanced options like scrolling captures, instant cloud uploads, or direct sharing.
Top recommendations:
Lightshot – Lightweight, lets you annotate quickly.
ShareX – Free, open source, supports screen recording.
Greenshot – Great for batch captures and productivity.
These tools give you more control, faster workflows, and built-in editing tools that Windows’ default apps can’t always match.
Common Mistakes to Avoid While Taking Screenshots
Forgetting to Save — The Print Screen key only copies to clipboard. Save immediately to avoid losing your image.
Wrong Keyboard Shortcut — Laptops often require pressing Fn + PrtScn. Check your model’s shortcut.
Capturing Hidden Windows — Minimized windows won’t appear in screenshots; keep them active.
Ignoring Clipboard Limits — Windows only holds one copied image at a time.
Overlooking Privacy — Don’t share screenshots with sensitive information visible.
Troubleshooting Screenshot Problems
If your Print Screen key isn’t working, check these fixes:
Make sure Fn Lock isn’t enabled on your keyboard.
Confirm the Print Screen key is active under Settings → Accessibility → Keyboard.
Restart Windows Explorer if screenshots stop saving properly.
Run Windows Update — broken shortcuts often fix themselves with updates.
Expert Tips for Taking Screenshots Efficiently
Use Windows + Shift + S for the fastest method.
For timed screenshots, use Snipping Tool → Delay option (great for drop-down menus).
Store screenshots in OneDrive for auto-backup and cross-device access.
Rename files with context (“invoice-error-screenshot.png”) to stay organized.
💡 Did You Know? You can assign custom hotkeys for screenshots using ShareX or PowerToys for even faster access.
Frequently Asked Questions (FAQs)
Q: Where are screenshots saved on Windows 10 and 11?
A: By default, they’re saved in the Pictures → Screenshots folder unless you paste manually into an editor.
Q: Can I take a screenshot without a keyboard?
A: Yes — use Snipping Tool or Snip & Sketch from the Start menu and click manually.
Q: Does Windows automatically name screenshots?
A: Yes, when you use Windows + PrtScn, they’re named “Screenshot (1), Screenshot (2),” etc.
Q: Can I take screenshots of multiple monitors?
A: Absolutely. Print Screen captures all screens, while Windows + Shift + S lets you select just one.
Q: How do I capture scrolling windows?
A: Use ShareX or PicPick, which include a scrolling capture feature for long webpages or documents.
Final Thoughts: Mastering Screenshots on Windows
Learning how to take a screenshot on Windows isn’t just a tech skill—it’s a productivity booster. Whether you’re a student, professional, or gamer, screenshots help you communicate visually, troubleshoot issues, and save important information in seconds.
Remember:
Choose the right method for your purpose.
Keep your screenshots organized.
Prioritize safety and privacy when sharing.
With these simple techniques, you can capture, edit, and share anything on your screen like a Windows expert.
David is the creative mind behind jokes Crafter, a hub for clever jokes, witty wordplay, and laugh-out-loud content. With a passion for humor and a knack for crafting the perfect punchline, David brings smiles to readers across the globe. When he's not writing, he's probably thinking up his next viral joke or enjoying a good comedy show.
- David

- David
- David
- David
- David
- David
- David
- David
- David
- David